


Overview
This blog will show how you can set up auth flow with basic user creation and user login ( SIGN-IN & LOG-IN ) using Appwrite. We will use React for the front end and tailwind CSS for styling the pages.
Setup React Project using Vite
We will be using Vite to set up our React Project. You can use different ways like CRA or any other bundler of your choice.
( Nodejs must be installed on your system )
npm create vite@latest
- Once you run this command you need to select React as a framework and Plain Javascript as a variant. ( NO SWC )
➜  blog-projects npm create vite@latest appwrite-auth-template
✔ Select a framework: › React
✔ Select a variant: › JavaScript

Scaffolding project in /home/rohankulkarni/Desktop/LEARNING2024/blog-projects/appwrite-auth-template...

Done. Now run:

  cd appwrite-auth-template
  npm install
  npm run dev
Once completed open the folder in
vscodeor any of your preferredcode editorRun Command
npm installinside the folder which will install all the required packages for react.
Setup Tailwind CSS
Run the following commands
npm install -D tailwindcss postcss autoprefixer npx tailwindcss init -p- this will create a
tailwind.config.jsfile in your project. You need to update the file with the given content.
- this will create a
    /** @type {import('tailwindcss').Config} */
    export default {
      content: [
        "./index.html",
        "./src/**/*.{js,ts,jsx,tsx}",
      ],
      theme: {
        extend: {},
      },
      plugins: [],
    }
- update
index.cssfile with tailwind directives.
    @tailwind base;
    @tailwind components;
    @tailwind utilities;
update
App.jsxwhich will be insrcof folder.import React from "react"; const App = () => { return ( <h1 className="text-5xl text-center text-indigo-500 font-bold bg-yellow-300 h-screen py-96"> Basic Auth Setup with Appwrite using React. </h1> ); }; export default App;
After making these changes run the command
npm run devinside the terminal which will start your project in development mode.Visit to
localhost:5173& see the preview.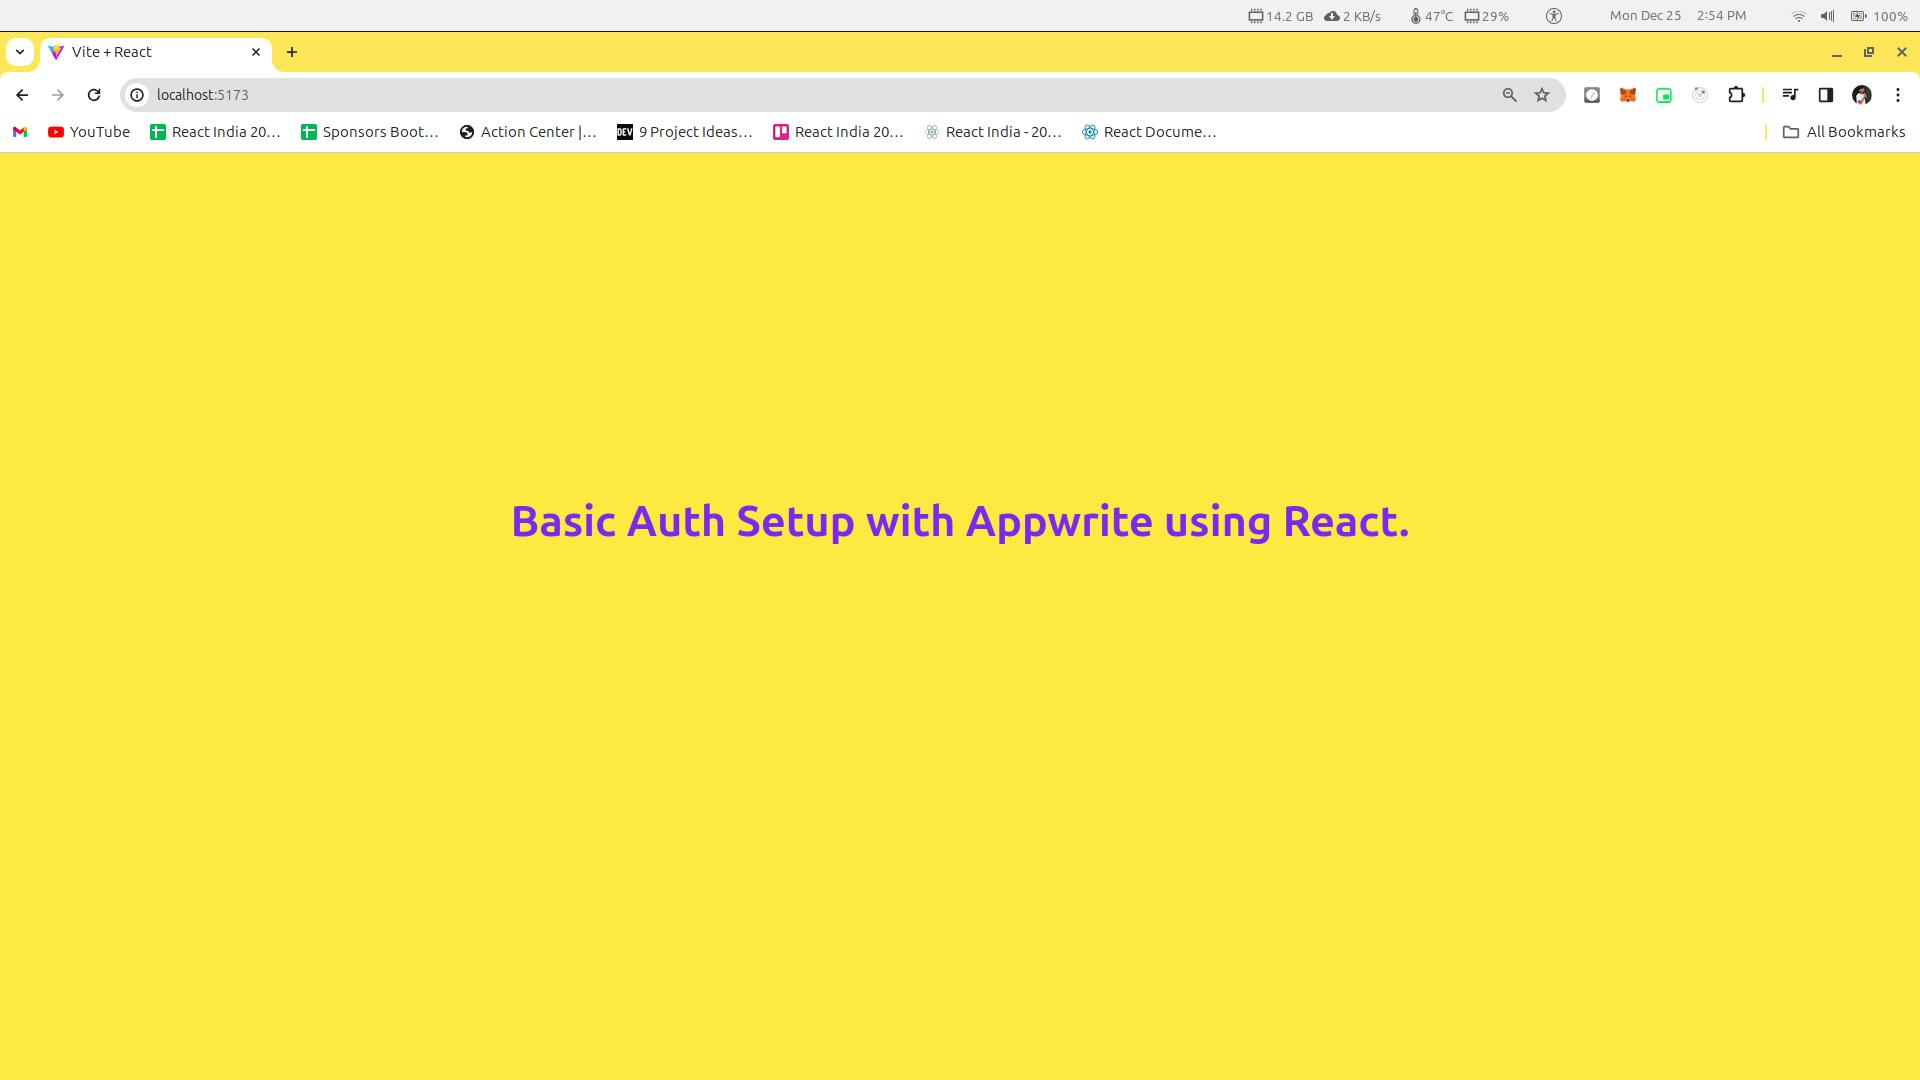
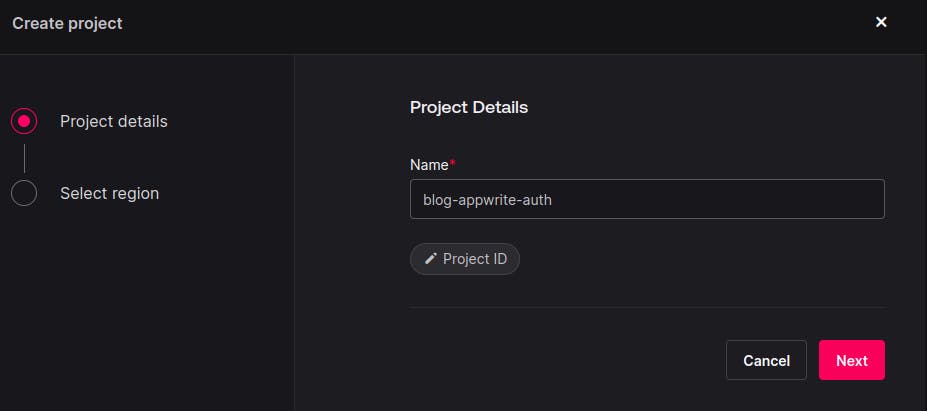
Create & set Project on the Appwrite Dashboard
Add
appwriteto our project.Run command
npm install appwrite


Services for Appwrite
Create a folder
servicesinsrc. Insideservicescreate a folderappwrite. In this folder, we will write all our services which will help us to perform operations using the appwrite client SDK.You can use any folder/project structure at your convenience.
Create a new file named
auth.jsinappwritea folder.We will create a class and refer to the documentation to learn how we can send requests to Appwrite.
This is how the
auth.jsfile will look like this. In this file, we have created a class namedAuthServicewhich will create aclientandaccountby takingappwriteurlandprojectIdas input.Now using the
accountwe can perform various activities like creating users, creating email sessions, and many more. You can refer to the documentation to understand more such use cases. In this particular blog, we will cover creating a user, creating an email session, and logout.
Auth Service Class
  import config from "../../config/config";
  import { Client, Account, ID } from "appwrite";


  export class AuthService {
      client = new Client();
      account;

      constructor() {
          this.client
              .setEndpoint(config.appwriteUrl)
              .setProject(config.appwriteProjectId);
          this.account = new Account(this.client);

      }

      async createAccount({ email, password, name }) {
      }

      async login({ email, password }) {
      }

      async logout() {
      }
  }

  const authService = new AuthService();

  export default authService;
Create Account Method
In this method, we are getting
email,passwordandnamefrom user. We will create a uniqueIDusing.uniquemethod. Once the user is created we will send the email and password tologina method and log the user in.async createAccount({ email, password, name }) { try { const userAccount = await this.account.create(ID.unique(), email, password, name); if (userAccount) { // call another method return this.login({ email, password }); } else { return userAccount; } } catch (error) { console.log(error); } }
Login Method
In this method, we are getting
emailandpasswordfrom the user and we will send it usingcreateEmailSessionasync login({ email, password }) { try { return await this.account.createEmailSession(email, password); } catch (error) { console.log(error); } }
Logout Method
We are using
deleteSessionsit to log out of the current user.async logout() { try { await this.account.deleteSessions(); } catch (error) { console.log(error) } }
For more detail you can always refer to appwrite documentation. https://appwrite.io/docs/references/cloud/client-web/account
config.js file & .env file
- Sometimes it might happen that the
urlorprojectIDcan be considered a number as it's a random string with numbers and characters. So in this file, we are adding a wrapper that will simply take the value from.envfile and return a string.
const config = {
    appwriteUrl: String(import.meta.env.VITE_APPWRITE_URL),
    appwriteProjectId: String(import.meta.env.VITE_APPWRITE_PROJECT_ID),
}


export default config
import.meta.env.NAME_OF_VARIABLEthis is a format in which we can extract the value of variables in.envfiles in projects built usingviteother bundlers, there are different ways in which you can always check the documentation. You can get the values ofurlandprojectidfrom app write project dashboard.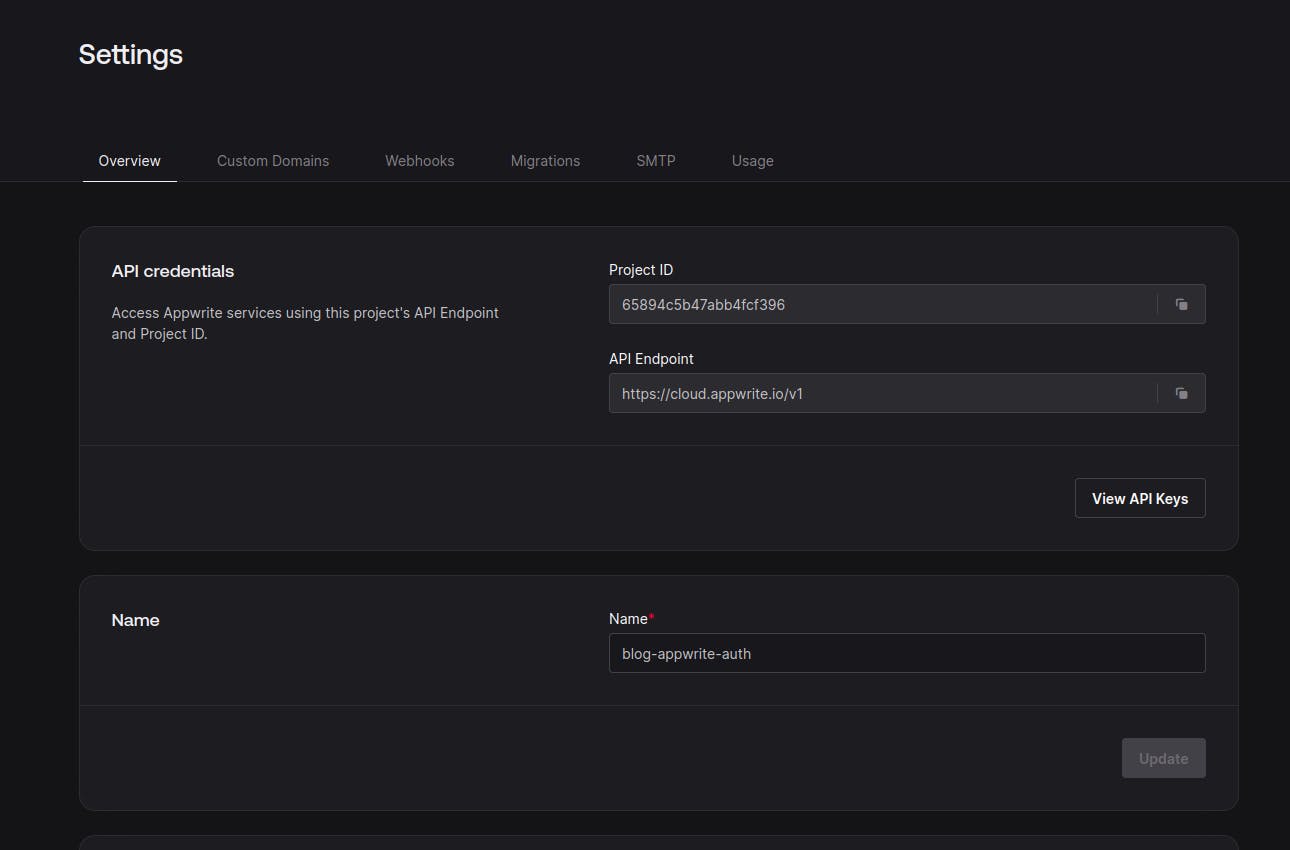
- This is how
.envfile will look like this. ( Make sure this file is created at the root of the project. At the same level wherepackage.jsonthe file exists.
- This is how
    VITE_APPWRITE_URL=""
    VITE_APPWRITE_PROJECT_ID=""
Calling Services from UI Components
We will create a basic
signupandlogincomponent inhomewhich will help us to call theservicesinside it.Create a folder
componentsinsidesrc.SignupComponentimport React, { useState } from "react"; const Signup = ({ handleSignup }) => { const [email, setEmail] = useState(""); const [password, setPassword] = useState(""); const [name, setName] = useState(""); const Signup = () => { if (email && password && name) { handleSignup({ email, password, name }); } }; return ( <div className="max-w-sm mx-auto mt-8"> <h2 className="text-2xl font-bold mb-4">Signup</h2> <form> <div className="mb-4"> <label htmlFor="username" className="block text-gray-700"> Name </label> <input type="text" id="username" className="w-full p-2 border rounded" value={name} onChange={(e) => setName(e.target.value)} /> </div> <div className="mb-4"> <label htmlFor="username" className="block text-gray-700"> Email </label> <input type="text" id="username" className="w-full p-2 border rounded" value={email} onChange={(e) => setEmail(e.target.value)} /> </div> <div className="mb-4"> <label htmlFor="password" className="block text-gray-700"> Password </label> <input type="password" id="password" className="w-full p-2 border rounded" value={password} onChange={(e) => setPassword(e.target.value)} /> </div> <button type="button" className="bg-green-500 text-white px-4 py-2 rounded hover:bg-green-600" onClick={Signup} > Signup </button> </form> </div> ); }; export default Signup;LoginComponentsimport React, { useState } from "react"; const Login = ({ handleLogin }) => { const [email, setEmail] = useState(""); const [password, setPassword] = useState(""); const Login = () => { if (email && password) { handleLogin({ email, password }); } }; return ( <div className="max-w-sm mx-auto mt-8"> <h2 className="text-2xl font-bold mb-4">Login</h2> <form> <div className="mb-4"> <label htmlFor="username" className="block text-gray-700"> Email </label> <input type="text" id="username" className="w-full p-2 border rounded" value={email} onChange={(e) => setEmail(e.target.value)} /> </div> <div className="mb-4"> <label htmlFor="password" className="block text-gray-700"> Password </label> <input type="password" id="password" className="w-full p-2 border rounded" value={password} onChange={(e) => setPassword(e.target.value)} /> </div> <button type="button" className="bg-blue-500 text-white px-4 py-2 rounded hover:bg-blue-600" onClick={Login} > Login </button> </form> </div> ); }; export default Login;HeaderComponentimport React, { useState } from "react"; import Login from "./Login"; import Signup from "./Signup"; import authService from "../services/firebase/auth"; const Header = () => { const [isLoggedIn, setIsLoggedIn] = useState(false); const [user, setUser] = useState(null); const handleLogin = async ({ email, password }) => { const user = await authService.login({ email, password }); setUser(user); setIsLoggedIn(true); }; const handleSignup = async ({ email, password, name }) => { const user = await authService.createAccount({ email, password, name }); setUser(user); setIsLoggedIn(true); }; const handleLogout = async () => { await authService.logout(); setIsLoggedIn(false); }; return ( <header className=" h-screen mt-12 p-4 flex justify-start items-center flex-col gap-36"> <div> <h1 className="text-5xl font-bold">Appwrite Auth</h1> </div> <div className="flex flex-row justify-evenly w-full"> {!isLoggedIn ? ( <> <Login handleLogin={handleLogin} /> <Signup handleSignup={handleSignup} /> </> ) : ( <div> <h1>UserID : {user?.$id}</h1> <button className="mx-2 px-4 py-2 bg-red-500 rounded hover:bg-red-600" onClick={handleLogout} > Logout </button> </div> )} </div> </header> ); }; export default Header;App.jsxComponentimport React from "react"; import Header from "./components/Header"; const App = () => { return ( <div> <Header /> </div> ); }; export default App;- When you will add all these changes into your project it will look like this.

Now you can perform the signup and login actions from here. We are not doing error handling in this project so for errors you need to check the browser console. Our objective was to learn appwrite client SDK.
User getting created in our appwrite project.
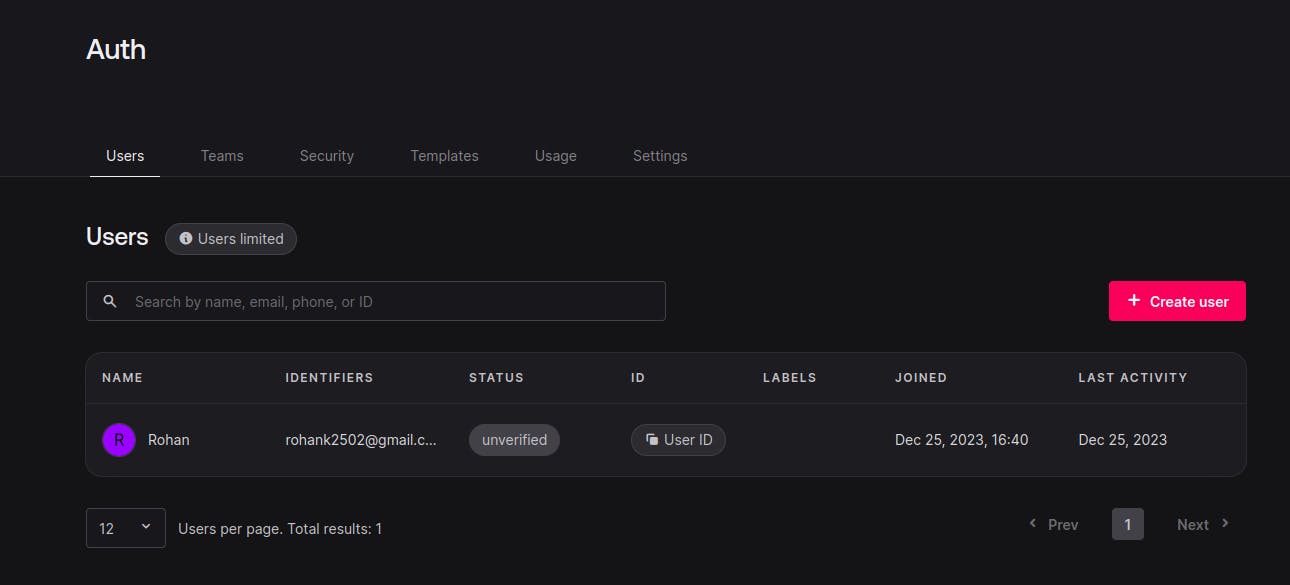
To understand the UI you need basic knowledge of React and Javascript.
Summary
In this blog, we learned how we can integrate our react application with the appwrite client SDK. Feel free to share this content in your network.
Thanks for reading...
GitHub Repository: https://github.com/rohan-kulkarni-25/appwrite-auth-template
( Feel free to star the repository if you found it useful.
Follow me on Twitter: rohan_2502
Check my Portfolio: rohankulkarni.dev